
How to File a Patent: Essential Steps Guide
Filing a patent protects your invention from being copied or sold by others without permission. The steps to file a patent involve research, documentation, and navigating the USPTO system-a process that takes time and precision.
At Daniel Law Offices, P.A., we guide inventors through each phase so you understand what’s ahead. This guide breaks down the entire filing process into manageable sections.
Search Before You File
Why a Patent Search Matters
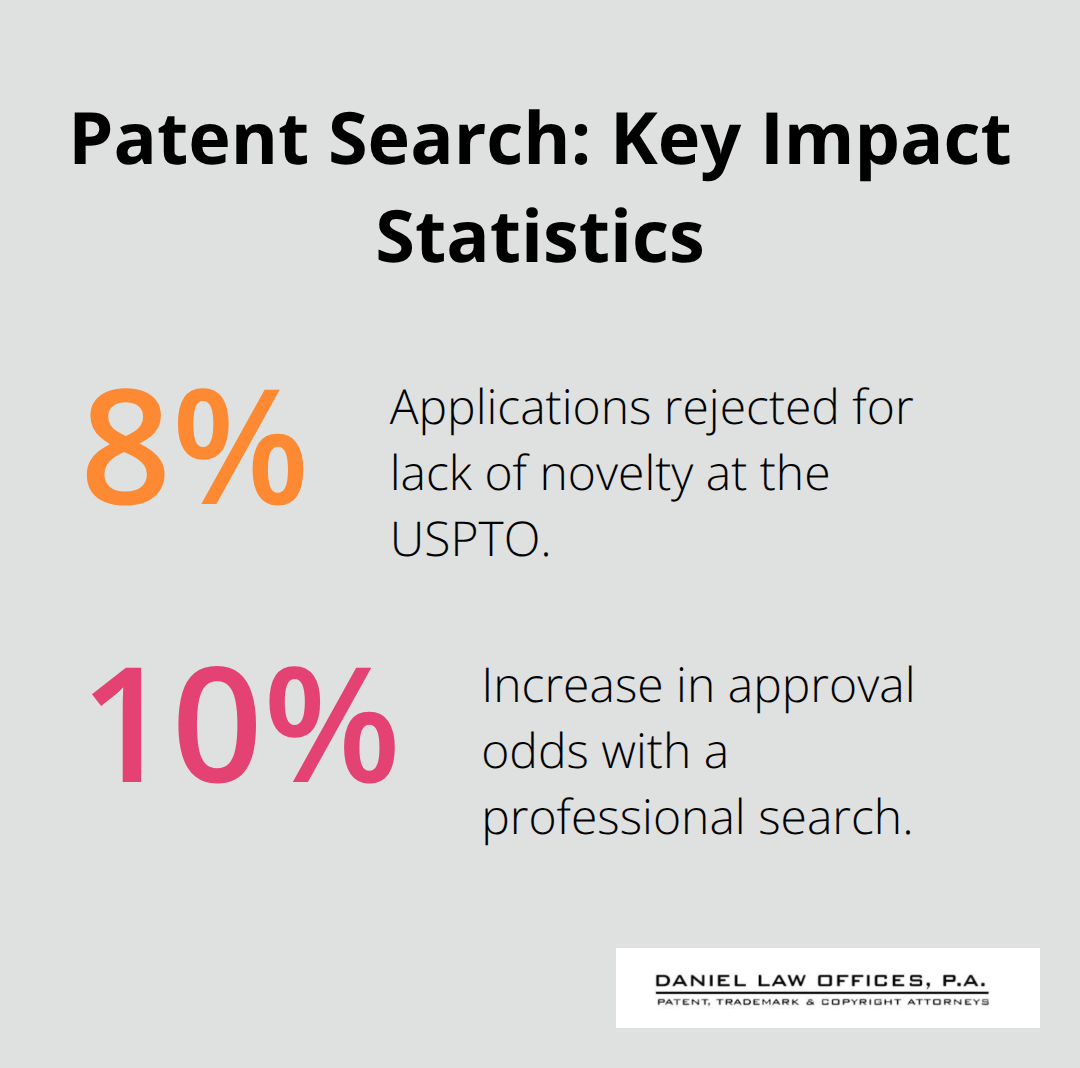
A patent search reveals whether your invention truly stands apart from existing patents and published applications. The USPTO rejects roughly 8% of applications due to lack of novelty, making an upfront search far cheaper than discovering this problem after spending thousands on filing and prosecution. We recommend starting your search immediately because it shapes everything that follows-your claims, your drawings, and your confidence that protection is actually possible.
Free Search Tools Available to You
The Patent Public Search tool on the USPTO website lets you search by keyword, classification, or inventor name at no cost. Most inventors start there, but free searches often miss relevant prior art because they lack the depth of professional databases. The Orange County Library System in Orlando, Florida operates as a Patent and Trademark Resource Center with free access to advanced USPTO databases and staff who helped over 500 local inventors in 2022.
If you search on your own, focus on patents filed in the last 20 years first, then expand backward and into international databases like WIPO PatentScope. Document every reference you find-record the patent number, title, filing date, and which claims seem closest to yours. This documentation becomes your roadmap for drafting stronger claims later.
When to Hire a Professional Searcher
Professional patent searches raise approval odds by about 10% according to USPTO data because trained researchers catch nuances that keyword searches miss. An attorney can identify non-patent literature, design patents, and obscure prior art that standalone searches overlook. The cost of a professional search typically runs $500 to $1,500 and pays for itself when it prevents filing an application destined for rejection.
If your search uncovers closely related patents, do not abandon your invention-use those references to understand the legal boundaries and draft claims that carve out genuinely novel territory. This strategic approach transforms potential obstacles into opportunities to file stronger applications. The worst outcome occurs when inventors skip the search entirely, file an application, and months later learn their core concept already exists.
Once you complete your search and understand the competitive landscape, you move into the next critical phase: preparing the actual documents the USPTO requires.
Building Your Patent Application in Orlando, Florida
Your search is complete, and now you face the most demanding part of the filing process: assembling a patent application that withstands examination. The USPTO receives applications across every field of technology, yet roughly 60% receive at least one rejection, often because of incomplete disclosures, unclear claims, or formatting errors. Inventors lose months and thousands of dollars recovering from these preventable mistakes. The difference between approval and rejection frequently hinges on how thoroughly you document your invention and how precisely you frame your claims.
Gather and Organize Your Technical Documentation
Start by collecting every technical document, sketch, and prototype photo related to your invention. Include measurements, materials, assembly sequences, and any test results. This foundation determines the quality of everything that follows. Without complete documentation, your specification will lack the detail examiners demand.
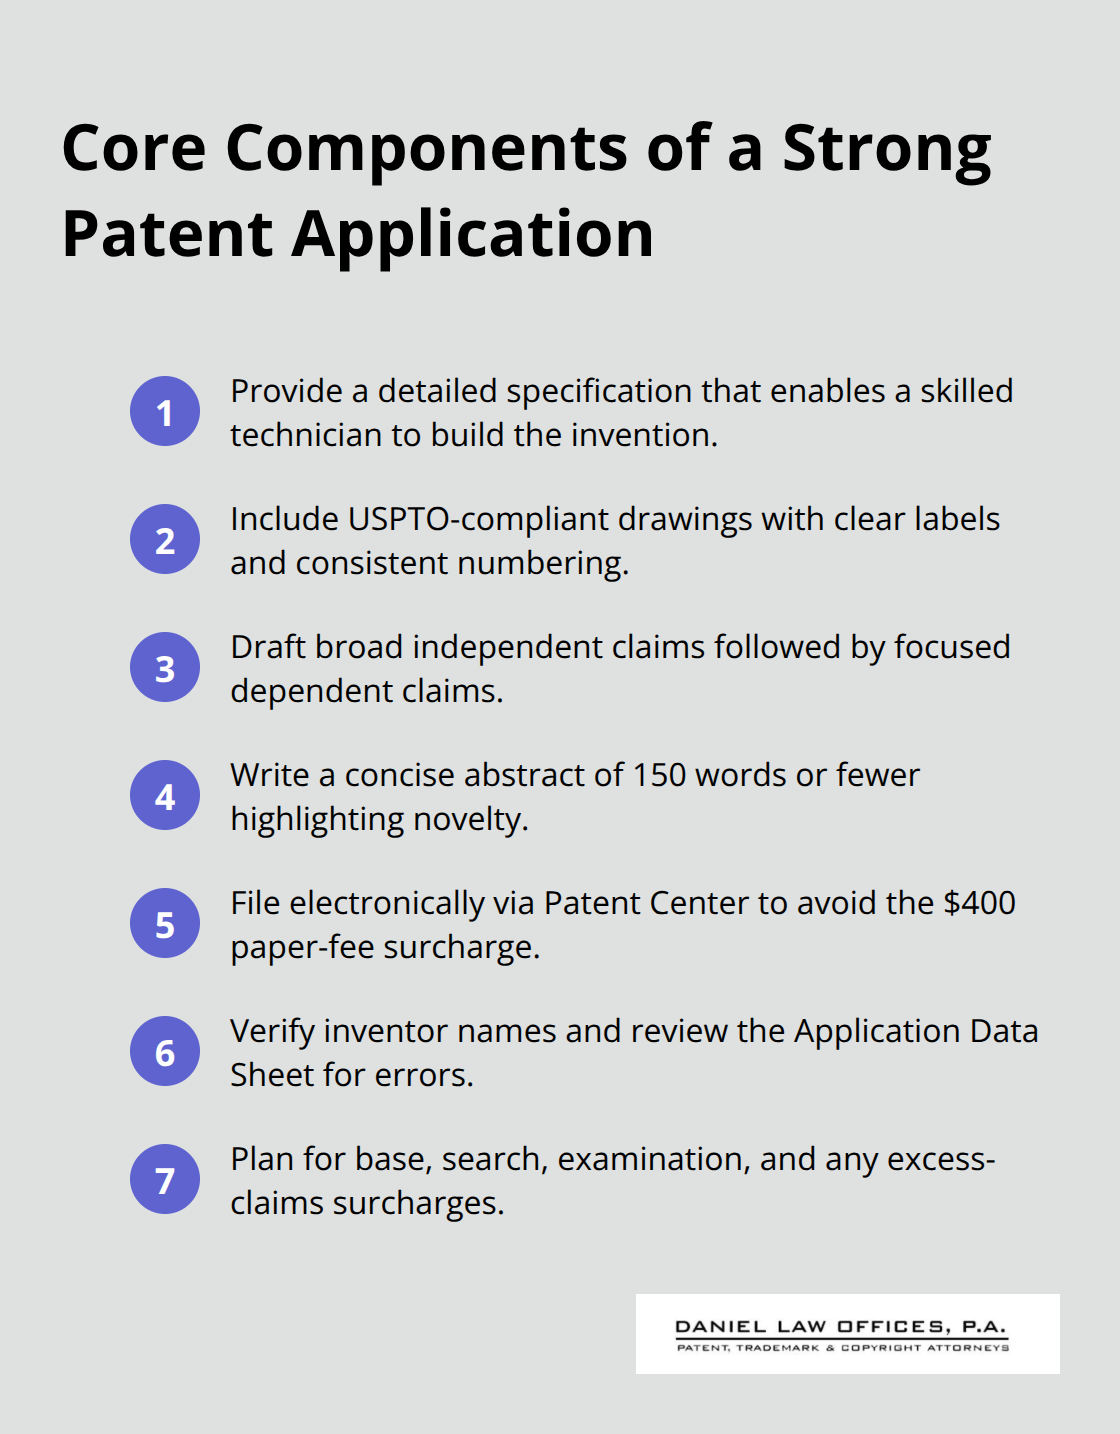
Write a Specification That Enables Construction
The specification-your detailed description-must be thorough enough that a skilled technician in your field could build your invention from it alone. This is not marketing copy; it is technical instruction. Write out how each component connects, what materials work best, and why your design solves the problem differently than existing solutions. The USPTO data shows that applications with well-written specifications correlate with roughly a 30% higher chance of approval without major revisions.
Create High-Quality Drawings That Meet USPTO Standards
Your drawings carry equal weight to your written description. High-quality drawings boost success rates by about 20%, and they must comply with strict USPTO standards: black-and-white ink, specific margins, consistent numbering, and clear labels for every part mentioned in your claims. If your invention involves color, you can submit color drawings with a petition and fee, but standard black-and-white is the norm. Include multiple views-front, side, cross-section-so that each element of your invention is visible and identifiable. Many inventors underestimate drawings and pay for it during examination when examiners request clarification.
Draft Claims That Protect Your Invention Broadly
When drafting your claims, begin with broad independent claims that capture the widest possible scope of your invention, then add dependent claims that narrow to specific embodiments. Well-drafted claims lead to about 25% fewer initial rejections. Avoid unnecessary limitations that shrink your protection or make claims vulnerable to design-around challenges. Your abstract should summarize the invention in 150 words or fewer and highlight what makes it novel.
Submit Your Application Electronically
File everything electronically through Patent Center; the USPTO charges a $400 non-electronic filing fee, making paper submission financially foolish. Before you submit, convert all documents to PDF, verify every inventor name, double-check your address, and review the Application Data Sheet for errors. The base filing fee ranges from $80 for micro entities to $320 for large entities, with search and examination fees on top. If you claim more than three independent claims or more than 20 total claims, expect additional surcharges. Plan to spend $5,000 to $15,000 total when you factor in professional help, though pro se filers can reduce costs substantially if they accept the risk of mistakes.
The filing moment marks the beginning, not the end. After submission, you must monitor your application status in Patent Center and prepare for the examination process that follows.
What Happens After You File Your Patent Application in Orlando, Florida
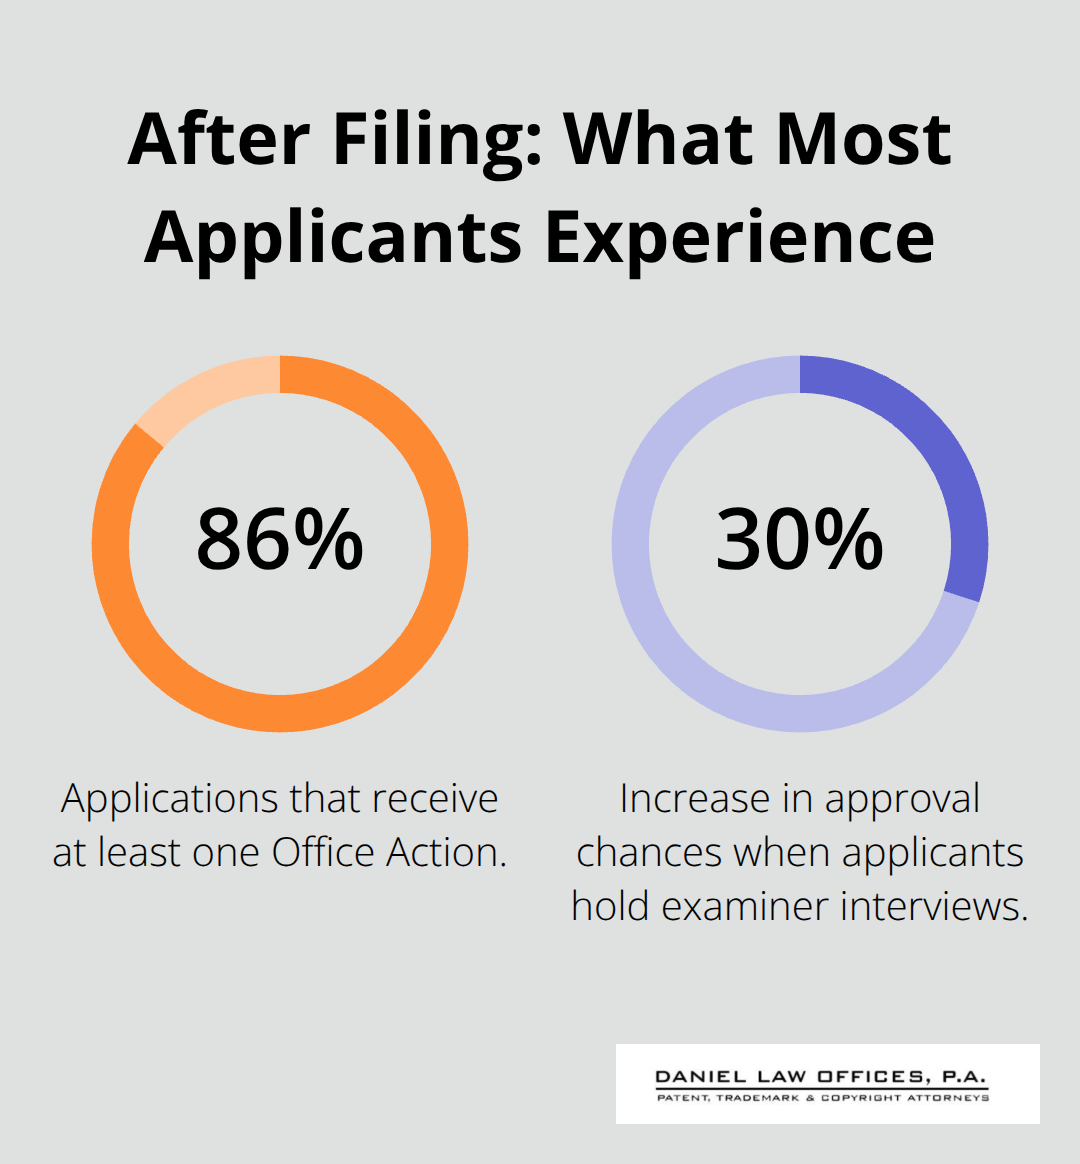
After the USPTO receives your application, an examiner reviews it within approximately 15 months according to USPTO data. This examination phase determines whether your patent will be granted or rejected, and it demands your attention and strategic response. Roughly 86% of applications receive at least one Office Action, meaning most inventors face rejections they must overcome. The examination process typically involves 2 to 4 rounds of Office Actions before approval, so patience and precision matter far more than getting everything perfect on the first submission.
Understanding Your First Office Action
Your first Office Action arrives as either a non-final rejection, which allows you to respond and amend, or occasionally an allowance if the examiner finds no issues. Non-final rejections are standard and do not signal failure; they signal that the examiner wants clarification, narrower claims, or better documentation. You have six months to respond to any Office Action, though you can request a three-month extension if needed.
Analyzing Rejections and Building Your Response
When you receive a rejection, read it carefully and identify whether the examiner is rejecting your claims for lack of novelty, non-obviousness, or insufficient disclosure. Many rejections cite prior art patents or publications the examiner found during their search, and your job is to explain why your invention differs from those references or why the references do not actually teach what the examiner claims. This is where your initial patent search pays dividends because you already understand the competitive landscape and can articulate your invention’s unique advantages.
Do not simply narrow your claims to dodge the rejection; instead, provide persuasive arguments about why your broader claims are valid despite the prior art. Applications with well-reasoned responses see significantly better outcomes than those with weak amendments.
Leveraging Examiner Interviews
Consider requesting an examiner interview before submitting a written response, as these discussions raise approval chances by about 30% according to USPTO data. During an interview, you can gauge which issues genuinely trouble the examiner and which are negotiable, allowing you to focus your written response on the points that actually matter. These conversations transform the examination process from a one-way critique into a dialogue where both parties work toward a solution.
Navigating Final Rejections and Your Options
If rejections persist after your response, the examiner may issue a final rejection, which closes prosecution unless you file a Request for Continued Examination or appeal to the Patent Trial and Appeal Board. Many inventors view a final rejection as a dead end, but it is simply a fork in the road. You can file an RCE to continue prosecution with new arguments or amendments, or you can appeal if you believe the examiner misapplied the law.
The entire examination timeline typically spans 2 to 4 years depending on your invention’s complexity and how quickly you respond to Office Actions. Treat each Office Action as a negotiation rather than a confrontation; examiners are not trying to reject your patent, they are applying USPTO rules and want you to succeed if your invention genuinely qualifies for protection.
Final Thoughts
Filing a patent demands attention to detail across every phase, from your initial search through examination and beyond. The steps to file a patent succeed when you treat each stage as interconnected rather than isolated tasks. Your search informs your claims, your claims shape your drawings, and your drawings support your specification during examination.
The examination process will test your patience, yet most applications receive at least one Office Action and many require multiple rounds of responses before approval. When you receive a rejection, view it as an opportunity to strengthen your position rather than a roadblock. Examiners want to grant patents to inventions that genuinely qualify for protection, and your job is to demonstrate that yours does.
After your patent issues, maintenance fees come due at 3.5, 7.5, and 11.5 years after grant (totaling approximately $14,470 to keep your patent active). Monitor your patent for potential infringement, and consider filing continuation applications if your technology evolves or if you want to pursue claims you narrowed during prosecution. Contact us to discuss your patent strategy and let us guide you through every step of this journey.